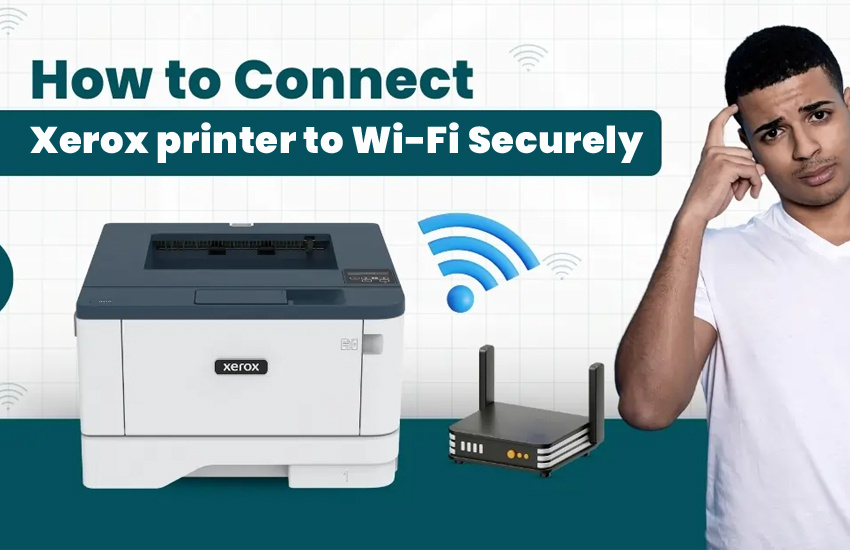
Connecting your Xerox printer to a Wi-Fi network allows you to enjoy wireless printing convenience from any compatible device in your home or office. Follow this easy guide to get your Xerox printer connected to Wi-Fi and start printing without cables.
Why Connect Your Xerox Printer to Wi-Fi?
Wireless printer setup eliminates the hassle of running Ethernet or USB cables. It lets multiple users to print from laptops, smartphones, and tablets anywhere within your Wi-Fi network range. Xerox printers support various connection methods, including manual network selection, Wi-Fi Protected Setup (WPS), and software utilities.
What You Need Before Connecting Your Xerox Printer to Wi-Fi
Here’s what you need before setting up a wireless connection.
- A wireless router with a stable 2.4 GHz Wi-Fi signal (some models support 5 GHz).
- Your Wi-Fi network name (SSID) and password.
- Printer fully powered on.
- For some methods, a computer with USB cable and Xerox Easy Printer Manager software might be needed.
- Administrator password for the printer if prompted (default is often “1111” or the printer’s serial number).
How to Connect Xerox Printer to Wi-Fi – Steps to Follow
Follow along the instructions below to connect the printer wirelessly.
Step 1: Power On and Prepare Your Xerox Printer
Turn on your Xerox printer and wait until it is fully powered on with a blue indicator light and ready status on the control panel.
If you’re setting up a new printer or after a reset, a wireless setup wizard should launch automatically on models like the Xerox B235.
Step 2: Connect via the Printer’s Control Panel
Most Xerox printers with a touch or display panel will allow you to choose a Wi-Fi network directly:
- Navigate to Settings > Network/Ports > Wireless.
- Select Wi-Fi Setup Wizard or Setup On Printer Panel.
- The printer will scan for available networks.
- Select your Wi-Fi network name (SSID) from the list.
- Enter the network password using the on-screen keyboard and confirm.
- Wait for the printer to connect. Once successful, a checkmark or Wi-Fi symbol appears with IP details.
Step 3: Use Wi-Fi Protected Setup (WPS) Methods for Quick Connection
If your router supports WPS, connecting is simplified:
- Push Button Connection (PBC): Press the WPS button on your router. Then, on the Xerox printer, go to Settings > Network/Ports > Wireless > Wi-Fi Protected Setup > Start Push Button Method and follow instructions. The printer will automatically connect.
- PIN Method: The printer displays a PIN. Enter this PIN into the router’s WPS settings page accessible via a browser. Save changes to complete the connection.
Step 4 (Optional): Use Xerox Easy Printer Manager on Your Computer
If you prefer or need to set up via your computer:
- Download and install the Xerox Easy Printer Manager from the Xerox support site for your printer model.
- Connect the printer temporarily to your computer with a USB cable.
- Open Easy Printer Manager, select your printer, then go to Machine Settings > Network Settings.
- Ensure the network connectivity is set to Wireless, and select Wi-Fi Setup Wizard.
- Follow prompts to choose your Wi-Fi network and enter the password.
- After setup, disconnect the USB cable. The printer should connect wirelessly.
Step 5: Verify Your Connection
Print a Network Setup Page from the printer menu to confirm the wireless status.
The page should show your login details, IP address, and confirmation that Wi-Fi is connected.
What to Do If Xerox Printer Cannot Connect to Wi-Fi?
If you cannot setup the wireless connection, check for the following:
- Make sure the printer is within range of the Wi-Fi router and not blocked by thick walls or microwave ovens.
- Ensure the router settings are compatible (most Xerox printers require 2.4 GHz; some newer models support both 2.4 and 5 GHz).
- Do not connect Ethernet cable when using Wi-Fi; Ethernet connections override wireless.
- Restart your printer and router if connection fails.
- Use the correct Wi-Fi password, including case sensitivity.
Concluding Words
Now, you know how to connect Xerox printer to Wi-fi securely. The steps above are applicable for Xerox B230, B235, C310, C315, and VersaLink series. If you run into an issue, contact Xerox printer support.