Epson printers offer great printing performance. However, you may often come across errors in their functioning. One of the common complaints is about the Epson printer not printing color. People often see their printouts, not in the color in which they want them to be. They may also find that their printer has stopped working after replacing a depleted cartridge.
A problem with ink delivery is one of the major causes of this issue. However, besides that, there are several other reasons for it. This article will go through the main causes and give you the resolutions for the same.
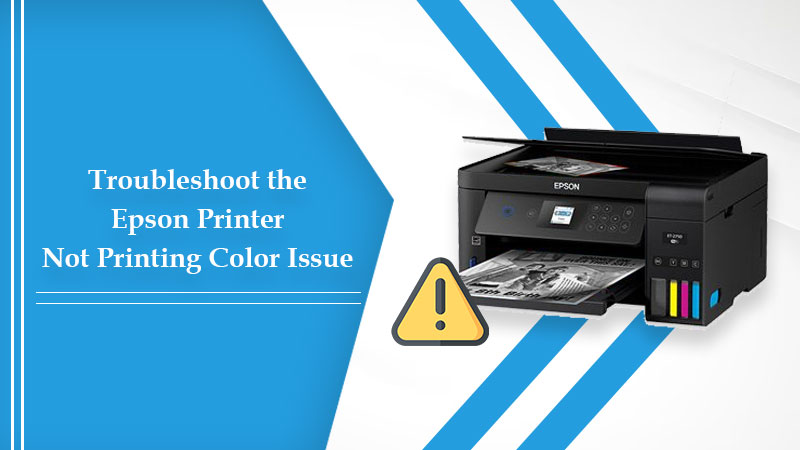
Why Is My Epson Printer Not Printing Color
Go through the main reasons that prevent your printer from printing color.
- Low levels of ink in the tank.
- The printhead nozzles are blocked, affecting the flow of ink.
- The ink has dried up because of the printer not being in use for a prolonged time.
- You have incorrect printer settings.
- Outdated printer drivers
- Your printer is always kept on, hindering it from running a cleaning cycle.
8 Methods to Fix Epson Printer Not Printing Color
Here are the various fixes to eliminate the problem and start using your printer effectively.
1. Examine the ink levels
Epson printer will not print color if there is no ink in the cartridges. So, the first step would be to examine the ink levels. If they are low, go ahead and replace the cartridges.
- Head to the ‘Printers and Scanners’ settings.
- Choose your printer.
- Launch the ‘Maintenance’ tab.
- Now, tap the ‘Epson Status Monitor 3’ button.
- The ink levels will display.
- If they are low, replace the cartridges.
- After opening the printer’s cover, push the ink replacement button.
- Remove the cartridge.
- Now replace it.
- Close the cover of the printer.
2. Look at the nozzles
Clogged nozzles lead to various output issues. You may wonder why is my Epson printer not printing color correctly if you don’t know about clogged nozzles. So, check them with these points.
- Fill the tray with paper.
- On the Control Panel, find the ‘Paper’ and ‘Power’ buttons.
- Press and hold both these buttons.
- Release them when the power light blinks.
- A nozzle check pattern will be produced.
- Examine this page.
- If there are gaps, it indicates clogged printhead nozzles.
- This means you need to clean the printhead.
3. Clean the printhead
Use the cleaning tool from Epson to clean the printhead if the nozzles are clogged. It is very easy to use the cleaning tool from Epson to clean the printhead.
- Feed the paper tray with a few sheets of paper.
- On your system, access the printer software.
- Head to ‘Utility’ and choose ‘Head Cleaning.’
- To begin the cleaning process, tap ‘Print Nozzle Check Pattern.’
- You may need to repeat this process up to five times if you don’t find any improvement in the quality.
Alternatively, you can clean the printhead via the Control Panel.
- Ensure that the paper tray has adequate printing paper.
- On the printer’s panel, hold the ‘Ink’ button for three seconds to begin the cleaning cycle.
- When it ends, print the nozzle pattern and find out if it is satisfactory.
4. Change the print settings.
If you have implemented the fixes above but are still complaining about why is my Epson printer not printing color correctly, examine the printer settings. They may be configured incorrectly.
- In the print dialog box, choose ‘Printer Settings.’
- After that, select the ‘Basic Settings’ tab.
- Here, you will see ‘Black’ on the right and the ‘Color’ option on the left.
- Pick the Color option if you want to take color printouts.
- Finally, tap ‘Print’ on the print dialog box’s bottom part.
- Your new settings are saved. Now you will get a test print.
5. Install the Epson drivers again.
Printer drivers affect the performance of the Epson printer. Possibly, there is an issue with them that is preventing you from getting color output. So, reinstall them using these steps.
- Firstly, head to the official Epson website.
- Now, find the ‘Epson Connect Printer Setup Utility.’
- Before downloading, ensure that your printer is configured with a wireless or an Ethernet connection.
- The utility will download quickly.
- Open its file to install it.
- Choose your printer from the list that you see.
- Select ‘Printer Registration.’
- After that, click ‘Next.’
- This utility automatically updates the printer software.
- So, there is no need to uninstall printer drivers and reinstall them.
- You may give a test print command and check the output.
6. Disable the Grayscale mode
You may notice the Epson printer not printing color if the ‘Grayscale/Black Print-Only’ setting is on. Disable it so that the printer prints color documents.
- In the Control Panel. Select the ‘Devices and Printers’ tab.
- Now, right-click on your Epson printer.
- Go to the ‘Printing Preferences’ section.
- Here you will find the ‘Grayscale’ mode.
- Disable it.
- Lastly, press ‘OK.’
7. Modify the color management options in the Epson software
Some users find that their Epson printer is printing in color, but the quality isn’t what they see on the screen. Here, you can take the help of Color Management Options in the Epson software. These enable you to change your prints and make them of the same color, similar to how they appear on the screen.
- Choose a document to print.
- Tap on your printer and choose ‘Properties.’
- Tap ‘Custom’ as the mode.
- Now, click ‘Advanced.’
- Below the ‘Color Management’ tab, tap ‘ICM.’
- You can choose the ‘Driver ICM (Advanced)’ or the ‘Driver ICM (Basic)’ option.
8. Change the printer port
Your Epson printer won’t print if you are using an improper port. Follow these points to change the port.
- In the Control Panel of your system, go to ‘Devices and Printers.’
- Choose your printer and right-tap it.
- Now, open ‘Printer Properties.’
- Click the ‘Ports’ tab.
- Now tap ‘Add port.’
- Select ‘Standard TCP/IP Print.’
- Now, tap the ‘New port’ button.
- On the new page, click ‘Next.’
- Now tap ‘Apply’ and restart your system and the printer.
Final Thoughts
Your Epson printer will start printing color once you fix the internal and external causes through these steps. Check the ink, rectify the printer settings, and clean the printhead to improve the printout’s quality. If you need more printer fixing error assistance, consult the experts online.
Related Resources: