Canon printers have a user-friendly interface and innovative features that facilitate excellent printing. These devices can also be easily connected to a laptop for more ease. There are numerous Canon printer models, some of which have LCD screens and others don’t. They can all be easily linked to any other device. Users commonly search for how to connect a Canon printer to a laptop since that is the most frequently used device.
You can connect your printer to a laptop with a USB, Wi-Fi, or with the WPS Push-button. It is also possible to link the printer to your laptop via LAN cables. When the connection gets established through any method, proceed to the installation process.
This article will give you ways to connect your Canon printer to your laptop.
How to Connect Canon Printer to Laptop With USB Cable
This is the easiest way to set up the connection between your printer and computer. Follow these steps to learn how to connect a Canon printer to a laptop with a USB cable.
- Connect an end of the USB to your printer.
- Connect the other end to the computer’s USB port.
- After a few seconds, the printer will alert you about the connection.
- To set up the connection fully, install the printer software.
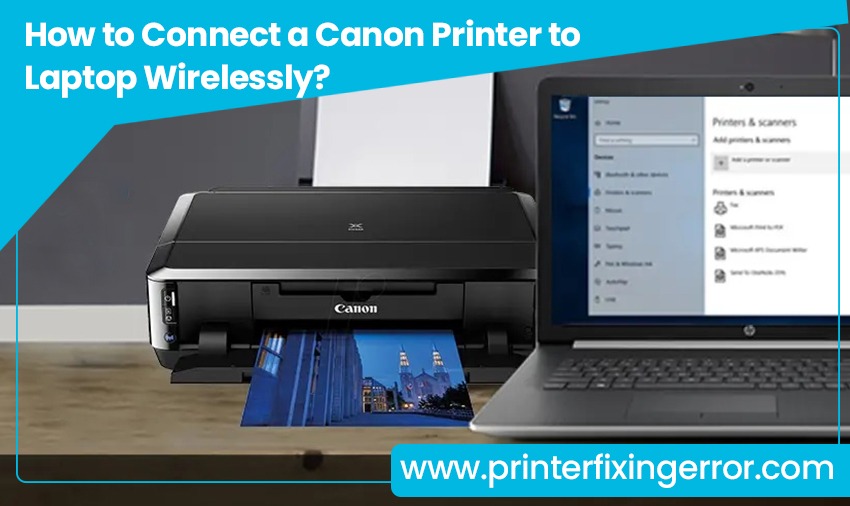
- Hit the Windows ‘Start’ menu and click on the ‘Gear’ icon.
- Next, tap ‘Labelled Devices.’
- Now, tap the ‘Printers & Scanners’ option.
- On the new page, hit ‘Add Printer and Scanner.’
- Your printer will start scanning for devices.
- In only a few moments, you will see your printer’s name on the screen.
- Tap on your printing device’s name.
- In the end, connect your Canon printer fully to your laptop using the on-screen instructions.
Wireless connection options like WPS and Wi-Fi are another way to link your Canon printer to your laptop. The WPS Push-button method is great for users who can physically access their router and have the WPS button on it.
If you are searching for how to connect my Canon printer to my laptop wirelessly, follow these points.
Ensure that your network functions above the 2.4 GHz frequency and that the network is secured with encryption like WPA2 or WPA.
- Turn on your Canon printer.
- Now hit the ‘Utility’ button.
- A setup page will open. It will have a Wireless LAN menu.
- Here, hit the ‘OK’ button.
- Now navigate to the ‘WPS (Push button)’ option with the aid of the right arrow key.
- Now hit ‘OK.’
- On your router, find the WPS button. Press this button till a ‘Connected’ message displays.
- After that, hit ‘OK.’
- Hit the ‘Utility’ button again. The ‘Wi-Fi’ logo will appear on the printer’s display.
Canon PIXMA printer models come without an LCD screen. If you own one of them, you must know how to connect a Canon printer to a laptop through the WPS Push-button.
- Turn on your Canon printing device.
- Find the ‘Cancel/Resume’ button on the panel.
- Now, keep pressing this button till you find the alarm light blinking 17 times.
- After that, release the button.
- Next, press and keep holding the ‘Wi-Fi’ button till you find the alarm light flashing for the last time.
- The Blue Wi-Fi button light should also start flashing.
- Next, press the ‘WPS’ button on your router.
- Do it within two minutes after the Wi-Fi button indicator flashes.
- The ‘Power’ button indicator and the ‘Wi-Fi’ button indicator will continue to glow even after the connection is established.
Link Canon Printers to Laptop with the Wireless Network Password
You can also use the long Wi-Fi password to connect the Canon printers with LCD screens to the laptop.
- Link your printer to a wireless network.
- On the printer’s LCD screen, you will see various available networks.
- To configure the wireless LAN settings, tap the ‘Setup’ page.
- Go to the ‘Home Network SSID.’
- Hover your cursor on the Wi-Fi icon at the lower part of the screen.
- While choosing the SSID, input the network password.
- After you input the password, the network will be prepared for the printing tasks.
- Tap the ‘Start’ menu.
- Now tap the ‘Labelled devices’ option.
- Click ‘Printers and Scanners.’
- You will be taken to another window.
- In the new window, tap ‘Add printer and scanner.’
- The printer will begin scanning for devices.
- When you see your device name on the screen, tap on it.
- Adhere to the guidelines for installation.
Summing up
Hopefully, you now know how to connect a Canon printer to your laptop via USB or Wi-Fi. After the connection is complete, install the printer driver. If you face any issues or encounter printer errors, feel free to avail yourself of professional help.
Frequently Asked Questions
1. How should I add my Canon printer to my laptop?
Add your Canon printer to the laptop by downloading a compatible printer driver. Now, go to ‘Hardware and Sound’ in the Control Panel and tap ‘Devices and Printers.’ Here, tap ‘Add a Printer.’ Select a printer port and click ‘Next.’ This will finish adding the printer to your laptop.
2. How should I get my laptop to detect my printer?
Ensure that your printer’s USB cable is linked from the printer to the PC. If you have a wireless printer, the ‘Wireless’ option must be turned on. It is also essential for your printer to have the latest driver to work well.
3. How do I connect a Canon printer to a laptop using the Ethernet cable?
Connect a portion of the Ethernet cable to your router’s port. Now, turn on the printer and link the other end of the cable to the port on the printer’s back panel. LCD screen printers should head to ‘LAN Settings’ and activate the ‘Wired LAN’ feature.
Related Resources: